Rediger mine sikre og blokkerte avsenderlister
Kontroller hvilken e -post som sendes til karantene ved å legge til en spesifikk e -postadresse, et domene eller en IP -adresse til enten Tillatelsesliste eller Blokkeliste. E -post fra tillatte avsendere vil ikke gå til karantene, mens e -post fra blokkerte avsendere vil gjøre det.
- Logg på GoDaddy -siden for avansert e -postsikkerhet (bruk GoDaddy -brukernavnet og passordet ditt).
- Velg Logg på avansert e -postsikkerhet . Påloggingssiden åpnes.
- Angi e -postadressen din, velg Logg på og deretter Logg på med Microsoft .
- Følg meldingene på skjermen for å logge på med Microsoft 365 -e -postadressen og passordet ditt. Portalen for avansert e -postsikkerhet åpnes.
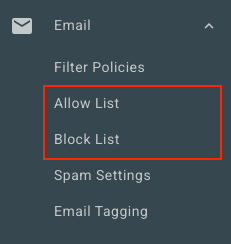
- Velg E -post på venstre side. Avhengig av om du vil legge til en avsender i Tillatelsesliste eller Blokkeringsliste, velger du et alternativ:
- Tillat -liste : Velg Tillat -liste . Velg Legg til tillat oppføring øverst til høyre.
- Blokkeringsliste : Velg Blokkeliste . Velg Legg til blokkoppføring øverst til høyre.
- Under Tillat eller Blokkér følgende angir du en e -postadresse, domene eller IP -adresse. Skill hver avsender med komma eller semikolon, eller ved å skrive det inn på en ny linje.
- Velg Lagre.
Rediger Tillat og blokker lister for alle brukere
Hvis du er administrator, kan du vise og redigere Tillat og Blokkerte lister for alle brukere i organisasjonen.
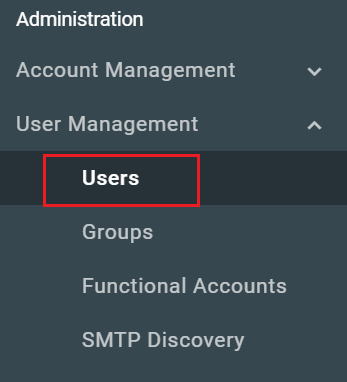
- Velg Brukeradministrasjon og deretter Brukere på venstre side.
- Velg Navn/E -postadresse til brukeren du vil redigere.
- Øverst på siden velger du enten Tillat liste eller Blokker liste , avhengig av hvilken liste du vil redigere.
Du kan se og redigere listen over hver bruker ved å gjenta disse trinnene.